Makeup slipping by midday is usually fixable with a few targeted tricks. Cakey foundation, creased concealer, patchy blush, and blurred lip lines each have simple causes and straightforward remedies. Quick touch-ups and the right tools keep a look fresh and natural all day. This guide gives clear, practical tips to correct common application errors fast.
What Causes Common Makeup Mistakes
Common makeup mistakes usually start with rushing, guessing, or using too much product at once, and that can make even a good routine go sideways fast.
You could copy beauty trends from videos, but studio lighting effects can hide every extra layer.
When you skip a skin check, you could miss dry spots, shine, or a shade that doesn’t fit your tone.
Then the makeup can look uneven before you even leave home.
You can also get tripped up by weak prep, which leaves product sliding around instead of sitting smoothly.
If you feel unsure, that’s normal. Most people do.
The fix begins with slowing down, using less, and noticing how your skin reacts in real life, not just online.
Fix Cakey Foundation
If your foundation looks heavy, dry, or patchy via midday, you can usually fix it with a few small changes instead of starting over.
Initially, warm a tiny amount between your fingers and press it onto the areas that look dull. Then, mist your skin lightly so the foundation texture softens and looks more like skin again. Unless your product buildup around your nose or chin, gently lift it away with a damp sponge, not a heavy swipe. After that, add only a thin touch of fresh foundation where coverage faded.
Use less than you estimate, because a light hand keeps you looking polished and part of the room, not painted for it. Finally, finish with a small blot to keep everything smooth and comfortable.
Blend Concealer Without Creasing
Start by prepping your under-eye area with moisturizer or primer so the skin feels smooth and ready. Then tap on a thin layer of concealer, because piling it on makes creases show faster than you want. Finally, set it with a light dusting of powder so it stays put without looking dry or heavy.
Prep Under-Eye Area
A smooth under-eye finish begins before you even reach for concealer, because that delicate area needs a little care to stay soft and crease-free. You can start with gentle under eye hydration so the skin feels plump, not thirsty. Then add a thin brightening primer to help makeup glide on and look awake, not tired.
Tap product in with your ring finger, since it gives you light pressure and less tugging. If you notice dryness, pause and smooth the area again instead of piling on more makeup. That small step helps you blend like the friend who always gets the good lighting.
When your under-eyes feel cared for, concealer sits better, looks cleaner, and helps you feel right at home in your look.
Layer Thinly, Then Set
Thin layers are your best friend here, because concealer looks most natural as you build it slowly instead of piling it on all at once. Start with a sheer foundation base, then tap on incremental coverage only where you still need it. Use your ring finger or a small brush, and press, don’t drag. That keeps the product in place and helps you look like you, just a little more rested.
- Dot concealer under your eyes in tiny amounts.
- Blend the edges so they fade into your skin.
- Set the area with a light dusting of powder.
After that, leave it alone for a minute. If you keep touching it, you’ll wake up creases fast. A soft set gives you a smoother finish and keeps your makeup with the group all day.
Keep Powder Light and Smooth
You can keep your setting powder soft and natural using a fine formula that melts into your skin instead of sitting on top of it.
Use a light hand so you’re not adding more than you need, then blend away any extra powder before it settles into lines or dry spots.
That small step helps your makeup look smooth, fresh, and polished without that heavy finish.
Choose Fine Setting Powder
Whenever it comes to setting your makeup, fine powder can make all the difference because it keeps everything in place without making your skin look heavy. You want a fine powder texture that feels soft, not chalky, so your skin still looks like yours. That’s how you get minimizing shine control without turning your face flat.
- Dust it over your T-zone for a natural finish.
- Blend it with a fluffy brush so it melts into skin.
- Choose a sheer formula that won’t catch on texture.
Whenever you pick the right powder, you join the crowd that looks polished and comfortable all day. It helps your makeup stay smooth, and you won’t feel like you’re wearing a mask.
Use A Light Hand
A light hand can save your makeup from looking stiff, heavy, or dusty, and it’s one of the easiest habits to build. When you dust powder on in thin layers, you keep your base smooth and avoid product buildup that can make skin look flat.
Start with a small amount, then press or sweep only where you need it most. This helps your makeup keep a natural finish, so you still look like you, just more polished.
If your brush feels loaded, tap off the extra before it touches your face. That tiny pause matters. It keeps everything soft, fresh, and easy to wear, so you can feel confident without that “oops, too much” moment.
Blend Away Excess
Blending away extra powder can turn a decent makeup look into a smooth, soft finish that feels much more natural. When you notice a dusty patch or a cakey spot, use product removal techniques with a clean brush or sponge to lift it gently. Then sweep along the edges for excess makeup diffusion so the color melts into your skin instead of sitting on top.
- Tap, don’t rub, over the fullest area.
- Feather out powder near fine lines and dry spots.
- Check your face in daylight and fix one small area at a time.
This small habit helps you look polished without looking overdone. It also helps you feel like you belong in your own skin, which is the goal.
Prevent Patchy Blush
Even the prettiest blush can turn patchy whenever you rush the application or place it on skin that isn’t ready.
Start with clean, moisturized skin, then tap on a thin base so the color can cling evenly.
Next, match your blush formula to your skin type; cream often smooths drier cheeks, while powder can suit oilier ones.
After that, focus on blush placement and build color slowly with a soft brush or fingers. You’ll get a gentler fade instead of spots that shout for attention.
Whenever one cheek looks stronger, add a tiny bit to the other side and blend the edges right away.
In good light, you’ll spot patchiness fast, and that keeps your look fresh, balanced, and easy to wear.
Smooth Out Bronzer Lines
Under bright bathroom lights or a quick morning rush, bronzer lines can sneak in fast and make your makeup look stiff instead of soft. You can fix them using soft contour blending with a clean, fluffy brush. Initially, check bronzer shade matching in natural light so the tone stays warm, not muddy. Then tap a small amount of translucent powder over the harsh edge to blur it without flattening your glow.
- Gently sweep the brush in small circles.
- Blend upward toward the cheekbone, not straight down.
- Add a touch more bronzer only where shadow belongs.
When you keep your hand light, your face still looks like you, just smoother and more polished. That’s the sweet spot your makeup crew would cheer for.
Fix Smudged Eyeliner
Whenever your eyeliner smudges, it can feel like your whole look slipped in one tiny moment, but you can clean it up fast without starting over.
Initially, let the line dry for a few seconds so you don’t spread the mess. Then, use a cotton swab or a small angled brush to lift the smudge with short, gentle motions. If the wing lost shape, sharpen it with a tiny bit of concealer for a quick wing cleanup.
After that, press a matching liner back into place and blend only the edge that needs help. Keep a pencil or gel nearby for easy eyeliner touchups, so you can fix slips before they grow. With a calm hand, you’ll look polished and right at home again.
Make Mascara Look Cleaner
Clean mascara starts with small fixes, and you don’t need a whole new routine to get there.
You can remove clumps by combing through the lashes, then define your lower lashes with a light touch so they look neat instead of messy.
After that, wipe the edges of your spoolie before you use it, and you’ll keep the whole look sharper with less fuss.
Remove Clumps
Mascara clumps can make even your best eye look feel messy, but the fix is usually simple. To remove mascara clumps, keep a clean spoolie nearby and comb through lashes right after you coat them. When you spot a tiny snag, don’t panic. Wipe off extra product before it dries, then brush again. This keeps your lashes soft and helps you look polished, not overdone.
- Use a fresh spoolie for quick cleanup.
- Wipe excess mascara from the wand initially.
- Let each light coat dry before adding more.
- When brow hairs get sticky, smooth brow gel buildup with a clean brush.
When you slow down, you look like part of the crowd in the best way: confident, put together, and totally at ease.
Define Lower Lashes
After you smooth out any mascara clumps, your lower lashes can help the whole eye look feel neater and more polished. For clean lower lash definition, use a light touch and keep your wand close to the roots.
This gives you control and helps the lashes stay separated instead of heavy. A tiny amount of mascara is usually enough, because too much can make the eye look messy fast.
Should you want softer lower lash mascara placement, tap the wand once and pull it through in short, gentle strokes. Then check both eyes together so the finish feels balanced and natural.
While you keep the focus on the lashes you actually want to see, your makeup looks calmer, brighter, and easier to wear with confidence, every day.
Clean Spoolie Edges
With a quick sweep of a spoolie, you can take mascara from messy to polished in seconds. Should your lashes look clumpy, gently comb the tips and edges before the mascara dries.
You’ll separate hairs, soften dark blobs, and keep your eyes looking bright and open. Good spoolie hygiene matters here, so wipe off leftover product after each use. Clean tools help you avoid dragging old mascara back onto fresh lashes. When the brush gets sticky, use mascara wand cleaning with a tissue and a little makeup remover, then let it dry.
- Sweep upward for neat lift
- Wiggle through clumps for even spacing
- Check corners so stray bits don’t stick
That small step helps you fit in with a clean, polished look that feels effortless and put together.
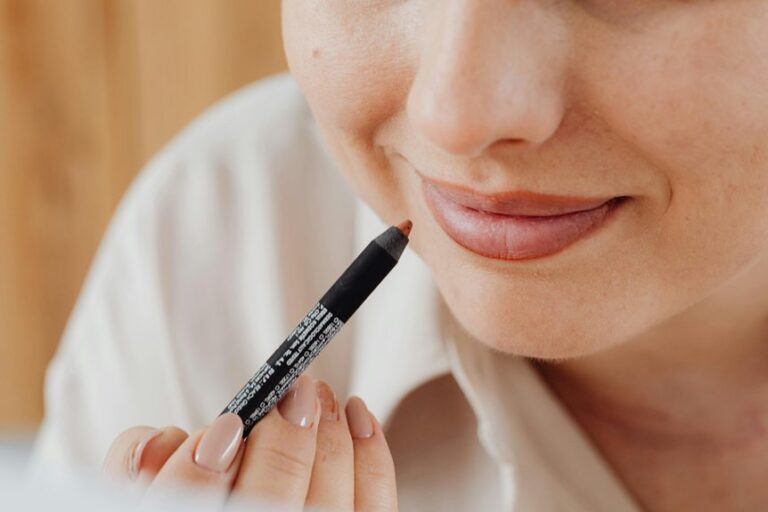
Fix Uneven Lip Liner
If your lip liner looks uneven, don’t panic, because this is one of those makeup mistakes that happens to almost everyone. First, clean the edges with a cotton swab dipped in balm, then sketch tiny strokes where the line needs help. This keeps your lip liner balance steady and supports lip edge symmetry without making the shape look stiff.
Next, press a little concealer around the outer edge to soften any wobbly spots, and blend it gently so the border looks neat. If one side still looks fuller, add a touch more liner to the thinner side instead of erasing everything. Then blot your lips and check them in natural light.
You’re not fixing a flaw; you’re simply giving your look a more even, polished finish.
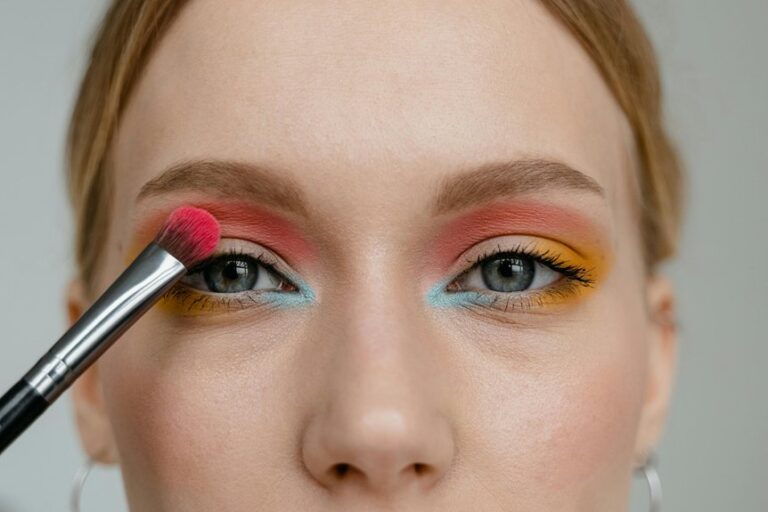
Save Eyeshadow Placement Errors
Eyeshadow can go sideways fast, even though the colors look perfect in the palette. You don’t need to panic when eyeshadow placement feels uneven. Start by mapping the shape before you add more color, because a small shift can change the whole eye.
Keep crease definition soft but clear so your lid still looks open and polished.
- Place the deepest shade a little higher if your eyes look hooded.
- Keep shimmer on the lid to avoid dragging the eye down.
- Blend the edge where color meets skin so it looks like yours.
If one side runs too high, balance the other side with light layers. Then step back and check both eyes together. That’s how you keep the look friendly, neat, and totally wearable.
Choose the Right Makeup Tools
How often do makeup tools make the difference between a smooth look and a messy one? You notice it fast when your brush leaves streaks or your sponge grabs too much product.
With makeup brush basics, match the tool to the job: a dense brush helps press foundation, while a fluffy one softens edges.
Then consider sponge vs brush. A damp sponge gives you a blended, skin-like finish, but a brush can give faster coverage and more control.
Should your makeup feels patchy, switch tools before adding more product.
Clean, soft bristles and a bouncy sponge also help you stay in the group that always looks polished.
Upon choosing well, your routine feels easier, and you feel more confident.
Set Makeup So It Lasts All Day
Now that your tools are doing their part, your setting step can keep that polished look in place all day. After your base looks even, use light makeup longevity tips so your face stays fresh, not stiff. Dust a thin veil of powder where you shine most, then press it in with a puff.
Next, mist setting spray tips across your face in an X and T shape, and let it dry on its own.
- Sweep powder under your eyes to stop creasing.
- Tap more on your nose, chin, and forehead.
- Carry a small spray for midday touch ups.
These small moves help you feel put together with your crew, even after work, class, or dinner. You’ll look like you meant it, and that’s the vibe.