A smokey eye creates a sultry, polished evening look with a few straightforward steps. Start by choosing shades that complement your skin tone and prepping the lids for smooth application. Focus on shape and seamless blending, using liner sparingly to define without harsh lines. One finishing step before mascara transforms the whole look: smudge the liner slightly for a soft, professional finish.
What You Need for a Smokey Eye Look
Before you touch any shadow, gather the tools that make a smokey eye easier to build and much easier to blend.
You’ll want essential tools like a fluffy blending brush, a small smudge brush, and a flat brush for packing color.
A gel pencil eyeliner helps you set a soft base, while a cream shadow stick can save time whenever you want smooth product selection.
Keep a clean cotton swab nearby for quick fixes, because even great makeup needs a little teamwork.
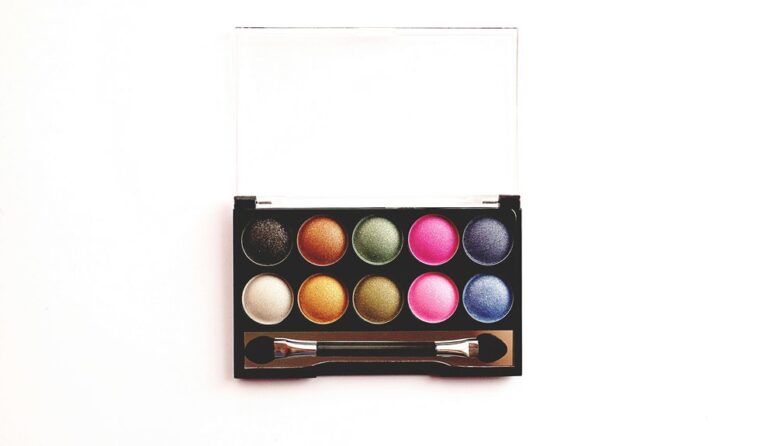
Also, pick a palette with light, medium, and dark shades so you can move from soft depth to bold smoke without guesswork.
With these pieces ready, you can create a look that feels polished, confident, and totally yours.
Pick the Right Smokey Eye Shades
Now that your brushes and liner are ready, the next step is choosing shades that do the real work for a smokey eye. Start with a light tone, a midtone, and a deep shadow so you can build depth without harsh lines. For a classic evening mood, choose charcoal, espresso, plum, or black, then add a softer taupe or warm brown to keep the look wearable.
Pay attention to shade undertones for evening looks, because cool grays feel sleek while warm browns feel inviting. Then consider finish selection for dramatic contrast: matte gives shape, shimmer catches light, and satin keeps the blend smooth. As soon as you match the right tones, your eyes look richer, bolder, and ready to belong in every room you walk into.
Prep Your Lids for Long-Lasting Wear
A smokey eye lasts so much longer whenever you give your lids a clean, grippy base to work on. Start using washing away old makeup, then pat the skin dry so shadow can cling better.
Next, tap on a thin layer of primer, because eye primer benefits include smoother color and less creasing. Should your lids get shiny fast, focus on lid oil control with a little setting powder or blotting before you apply anything else.
Let each layer settle for a moment, so the base feels comfortable, not sticky. Then your shadows can stay lively through dinner, dancing, and every selfie with your crew. With this prep, you’re not fighting your makeup all night. You’re giving it a chance to stay put and look polished.
Create Your Smokey Eye Shape
To shape a smokey eye that looks soft, lifted, and intentional, start by mapping where the darkest color should sit, since that one choice changes the whole mood of the look. You’re not guessing here; you’re guiding the eye with eye shape balance. Should you want a softer pull, keep the darkest area near the outer third. Should you want more lift, nudge it slightly upward.
| Guide | Move |
|---|---|
| Round eyes | Keep the dark shade higher |
| Hooded eyes | Sketch a small batwing |
| Upturned eyes | Follow natural lift |
| Downturned eyes | Raise wing direction placement |
| Close-set eyes | Keep color out wider |
That simple plan helps you feel polished and included, like the look was made with you in mind.
Build Depth With Shadow in Layers
Start with a light shade, then move to a medium tone, and finish with a deeper color so your smoky eye builds slowly and looks smooth.
You’ll want each layer to blend into the next, because harsh lines can make the look feel heavy fast. Add the darkest shadow on the outer corner to pull the eye upward and give your makeup real depth.
Choose Gradual Shade Progression
When you build a smokey eye, the shades should move like a soft fade, not jump from light to dark in one harsh step. You want shade intensity mapping that guides every swipe, so each color earns its place. Start with a soft base, then add medium tones, and finish with the deepest shade only where you want drama. That subtle color stepping helps you look polished, not painted on.
- Put the lightest shade near the inner lid.
- Add the midtone through the crease.
- Reserve the darkest shade for the outer corner.
This order gives you control and keeps your look grounded. It also makes you feel like you belong in the room, because your eyes carry the same quiet confidence as everyone else who owns the night.
Blend Each Layer Seamlessly
Because a smokey eye can turn messy fast, you need to blend each layer as you build it. Start with your light base, then use layer transition shades so every color meets the next one without a hard line. Sweep your brush in soft circles, and keep your pressure light.
Then add the deeper tone a little at a time, blending after each pass so the color looks lived-in, not heavy. If you use shimmer, soften shimmer placement with your fingertip or a clean brush so it glows instead of screaming for attention. Check both eyes together, too, because balance helps you feel put together.
When you blend well, you don’t just make makeup look polished. You make your whole evening look feel like it belongs to you, and that’s the fun part.
Intensify Outer Corner Depth
To deepen the outer corner without making your eyes look heavy, layer the darkest shadow little by little and keep the focus right at the outer edge. You’ll feel more in control upon you tap, then blend, instead of packing on color too fast. Use a small brush to press pigment where your lash line turns upward, then sweep it slightly into the crease for crease contouring balance.
- Build a soft base initially, then add more depth.
- Keep the outer edge lift pointed upward, not outward.
- Stop before the color reaches the center lid.
This method helps you look polished and part of the evening crowd, not overdone. If one side gets darker, match the other with tiny strokes. That way, your smoky look stays bold, warm, and easy to wear.
Blend Smokey Eye Makeup Without Harsh Lines
A soft smokey eye starts with careful blending, and that matters even more whenever you want to avoid harsh lines. You can keep your look polished via using a fluffy brush to blur each shade where it meets the next. Start with a light hand, then build color slowly so the edges stay soft.
Whenever you place a darker shade, tap it on initially, then sweep it upward to create a soft focus edge. Subsequently, use small circles to melt the colors together until you see a seamless gradient. If one spot looks too sharp, add a touch of transition shadow and blend again.
With each pass, you make the eye look lived-in, flattering, and easy to wear, like it belongs with you tonight.
Add Eyeliner and Lash Definition
Now you can give your smokey eye real depth by tightlining the upper lash line, so your lashes look fuller without a heavy edge. Then smudge liner right along the lash line to soften the look, and finish by curling your lashes and coating them with mascara for a wide, defined finish.
This step pulls everything together and keeps your eyes looking bold, not harsh.
Tightline for Depth
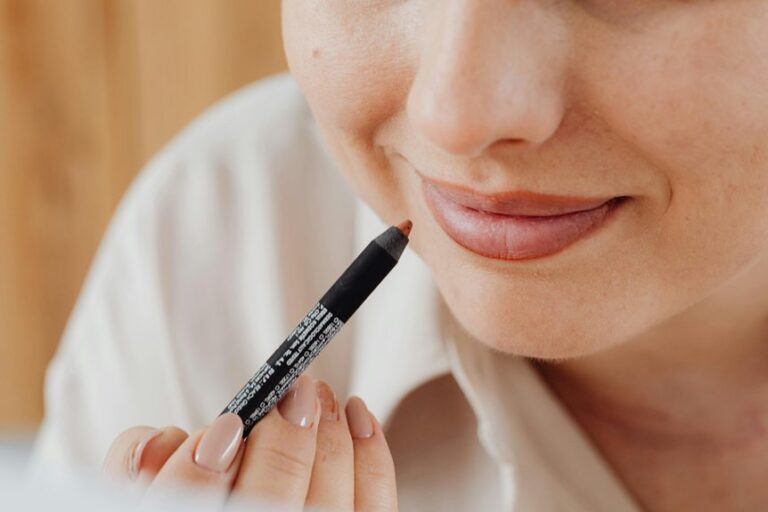
Whenever you want your smokey eye to look fuller and more intense, tightlining does the quiet heavy lifting. You press a pencil into the roots of your upper lashes, not above them, so the line stays concealed but the impact shows. This is where tightline intensity builds, and your eyes feel instantly wrapped and polished.
Keep the waterline balance in mind too, because a soft lower rim helps the look stay sultry, not harsh.
- Use a creamy black or brown pencil.
- Raise the lid gently for easier access.
- Stop at the inner corner if your eyes feel crowded.
After that, check the mirror from a few steps back. Your lashes should look thicker, and you should still look like you belong in the room.
Smudge Along Lash Line
Smudge your liner along the lash line, and the whole eye softens into that classic smokey finish. You don’t need a perfect line here; you need a lived-in one that feels like it belongs with the rest of your look. Start close to the roots, then use a small brush or fingertip to blur the edge before it sets. That tiny move adds lash line texture and keeps the color from looking harsh.
Build the smoky edge placement a little thicker at the outer corner should you want more lift, then keep the inner corner lighter. Should the line look too sharp, soften it with a matching shadow. You’ll get definition without losing that easy, gathered-together evening mood.
Curl And Coat Lashes
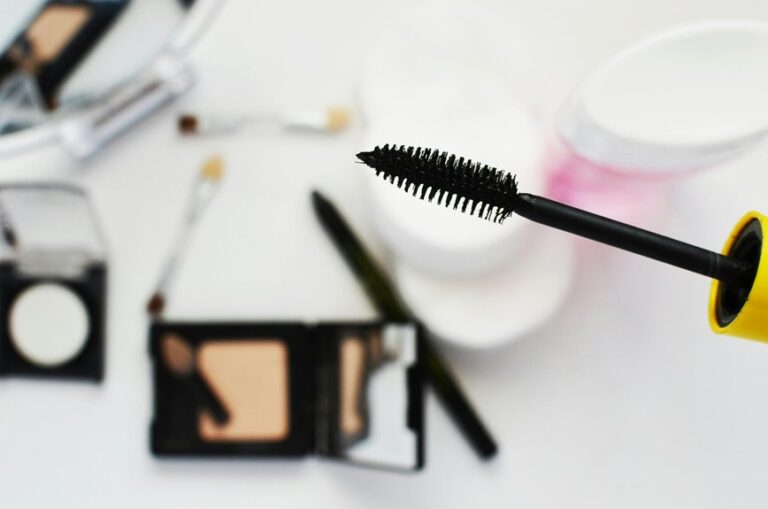
Once your shadow has that soft, blended base, you can turn to the eyeliner and lashes to give the whole look real shape. Start with a clean lash curling technique, then press gently at the root and hold for a few seconds. After that, sweep on a thin line of gel pencil along the upper lashes. This adds depth without stealing the spotlight from your smoky blend.
- Curl initially so your eyes look more awake.
- Layer mascara from root to tip for fuller fringe.
- Use mascara layering tips like waiting a few seconds between coats.
Then add one more coat only where you want extra drama, especially at the outer corners. Should you like, softly smudge the liner to keep the finish sultry and close-knit, like you’re part of the same glowing crowd.
Fix Common Smokey Eye Makeup Mistakes
Should your smokey eye looks muddy, patchy, or harsher than you wanted, don’t worry, because that happens to a lot of people.
Start by checking common blending pitfalls: you might’ve skipped the transition shade, used too much dark shadow, or stopped blending before the crease looks soft. Use a clean fluffy brush to soften edges in small circles, then add a light layer of medium tone to connect the colors.
Next, handle correcting fallout issues before it spreads. Tap off extra powder, hold tissue under your eye, and sweep away specks with a dry cotton swab.
Whenever liner feels too sharp, smudge it with shadow instead of adding more.
With a few calm fixes, you’ll look polished, confident, and right at home in the night.